Have you ever faced the frustration of having your beautiful gel nails lift and peel just days after getting them done? We’ve all been there! But did you know that you can fix gel nails that have lifted at home, without having to rush back to the nail salon?
Fear not, for we have the perfect solution for you. In this article, we will guide you through a simple yet effective method to fix lifted gel nails right in the comfort of your own home.
By following our easy steps, you’ll not only save time and money, but also ensure your nails look fabulous for longer. And the best part? You don’t need to be a professional nail technician to do it.

What Are The Most Common Causes For Gel Nails To Lift?
The most common causes for gel nails to lift are improper application or removal, cuticle damage and nail fungus.
Improper application occurs when the technician does not properly cleanse the natural nail before applying gel products, resulting in oils present on the nail, which can cause adhesion problems.
Improper removal is also a major cause of lifting, as it involves inadequate filing and buffing, causing the top coat of polish to be removed too quickly and not allowing enough time for proper curing.
Cuticle damage is another issue that can result in premature lifting; this often occurs if the technician over-trims around nails during preparation or pushes cuticles back too vigorously, as these actions strip away layers of underlying tissue.
Fungal infections can lead to lifting due to intense itching and scratching, which weakens the bond adhesive at the base of the artificial product.
As such, it is important for salon technicians to take measures such as wearing gloves while preparing natural nails and working with sanitized tools to reduce potential risk factors associated with gel product lifting.
How To Identify Lifted Gel Nails?
If you have gel nails and are concerned they are beginning to lift prematurely, there are several signs to look out for.
If you notice that areas of the nail have begun to pull away from the natural nail plate or if the edges of your nails seem lifted or uneven, these may be indications that your gels have been compromised.
You may also see visible layers of dried product around the free edge, or even a dulling in appearance on the surface of the polish. In some cases, a strange texture may appear around your cuticles as well.
To prevent premature lifting, it’s important to ensure your nails remain properly maintained between gel appointments.
After soaking off the gels, perform a thorough cleanse with an acetone-free remover, followed by filing down any excess product with an ultra-fine file.
This will create a buffed effect on the surface and give the adhesive something new to adhere to when reapplied during subsequent appointments.
Applying lotion consistently can help keep skin soft and flexible, while avoiding prolonged exposure to water can help prevent moisture loss and weakening of adhesion around edges where lifting is likely to occur first.
Be sure your technician follows proper sanitation procedures when performing services – including disinfection of all tools used before each appointment.
So, bacteria doesn’t get trapped underneath polish layers leading to potentially causing infection and eventual lifting along with other undesirable reactions like peeling, itching or cracking around skin folds adjacent to nails.

How Long Does It Take For Gel Nails To Start Lifting?
Gel nails can be a great way to add some longevity and luxury to your manicure. Generally, when done correctly and with the correct aftercare, gel nails should last two to three weeks before needing to be redone.
However, it is not unheard of for gel nails to start lifting in as little as one week from after getting your nails done. This is usually due to incorrect application or maintenance, so you will want to keep your nails healthy, to prevent such issues.
To treat and prevent gel nails from lifting, take extra care when applying the product by ensuring each layer is evenly distributed across the nail and that you don’t apply too much in any one area.
After application, avoid using cleaning chemicals such as soaps and detergents, which can lead to a breakdown of the adhesive bond between the gel polish and natural nail.
Resist picking at your nails or improperly removing the gels; this will weaken them significantly, leading them to lift quickly, and you want to make your nails last as long as possible.
Ensure that moisturizing handwash is used instead of traditional soap products when washing hands after application of gels, and try not to over-moisturize your hands if you only recently applied gels as well.
When showering or bathing, opt for warm water rather than hot because exposure to hot water may loosen up an otherwise secure bond between your natural nail plate and the product itself, thus causing part of the nail to lift prematurely.
How To Prevent Gel Nails From Lifting Prematurely?
Gel manicures can be a great way to get long-lasting, beautiful nails; however, sometimes they can lift prematurely.
To prevent this from happening, it is important to thoroughly prepare and care for your nails before the application of a gel manicure.
Start by buffing away any ridges or bumps on the nail beds, while avoiding taking off too much of the protective layer from your natural nails.
After cleaning your nails with soap and water, dry them well to remove any excess oils that may interfere with adhesion of the base coat. Before you apply the base coat, use an alcohol-soaked cotton swab to dehydrate the nail bed.
Making sure you apply thin layers of each product will help ensure proper adherence when you add additional coats or colors.
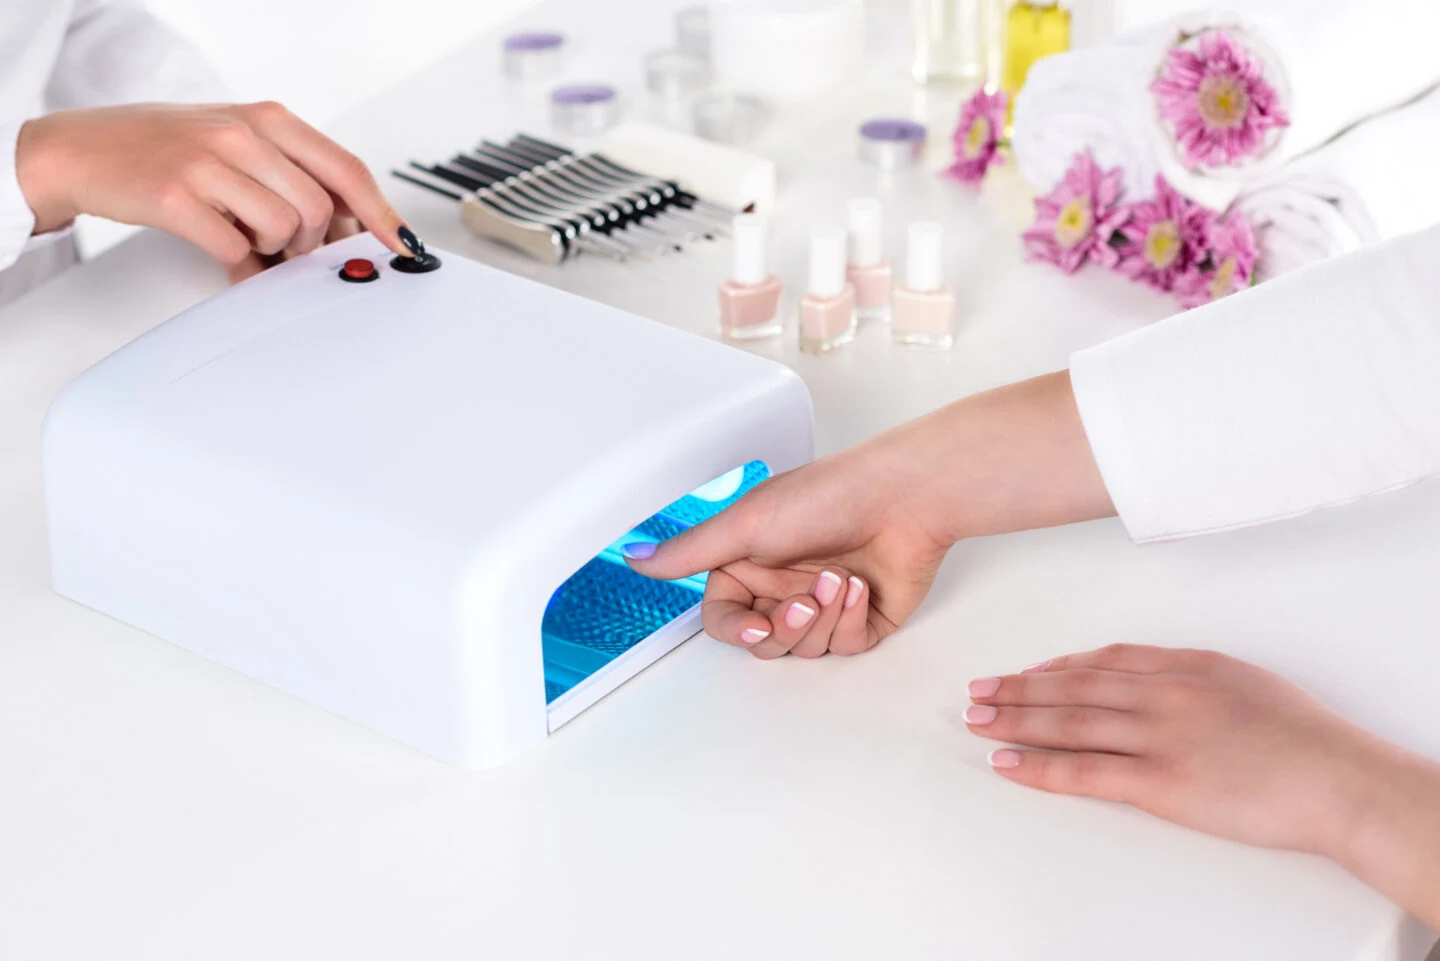
When it is time to cure your new set of gel nails under UV light, make sure you are placing them in at an appropriate distance from the bulb and don’t leave them there any longer than necessary, as over exposure can damage them before they have had a chance to effectively cure properly.
It is also essential that after each layer of gel polish dries correctly before continuing on with another one.
Lastly, remember that while having fun decorating your new look, it is important not go overboard as adding too many products will cause weight stress on top of your nail beds which could lead to premature lifting.
To keep your gel manicure looking pristine, make sure you soak off any part that has lifted instead of peeling it off, as this type of removal can damage the integrity of both skin around and underneath your nails, further leading to premature lifting.
How To Cap The Free Edge Of Your Gel Polish To Prevent Chipping?
If you want to prevent chipping and keep your gel polish looking perfect for longer, then it’s important to cap the free edge of the polish before curing. This will provide a strong seal for the polish and help it to last for up to three weeks without chipping.
To cap the free edge of your gel polish, start by wiping your nails with isopropyl alcohol to remove any dust or oil.
Then, take a small amount of the polish on the brush and gently place it at the tip of your nail so that it covers the entire free edge.
Don’t forget to brush away any excess polish that is sticking out. Once you’re done, cure your nails with a UV/LED lamp, and you’ll be ready to go.
Capping the free edge of your gel polish may sound daunting, but once you get the hang of it, it’s easy, quick and leaves your nails looking flawless and vibrant.
Not to mention, you’ll be able to enjoy your manicure for longer without worrying about any pesky chips or cracks.
So please keep in mind, capping the free edge is the key to keeping your gel polish looking as good as new for weeks.

How To Fix Gel Nails That Have Lifted At Home?
Keeping your hands and nails healthy is the first step in making sure your gel manicures last longer.
Regular nail polish can help your manicure, but for optimal results, you need to keep up with the upkeep of your gel nails.
If you notice that some of them are lifting or peeling, there are a few ways you can fix them at home without having to visit a salon.
First, remove any loose gel with either an acetone-free nail polish remover or pure acetone if needed. Next, buff away any remaining product on the surface of the nail and apply cuticle oil around the edges where it has lifted to reduce further stress on the area.
For longer-lasting effects, use a buffer stone size 1 – 2 over each finger (avoiding direct contact with skin).
Also avoid picking at any parts of your nails that may have already started to lift, as this will cause more damage and make it even harder to repair them later on.
Once all the excess product has been removed and buffed down, apply another layer of fresh gel over each nail for added protection and longevity.
Place all fingers under an LED light for proper curing time, then finish off by applying cuticle oil, once again as a protective sealant against dehydration from regular activities such as handwashing.
It’s important to keep in mind that regular maintenance is key when it comes to fixing peeled or lifted gel nails and ensuring their longevity.
Make sure you take care not only when doing home treatments but also invest in professional touch ups every 2–4 weeks depending on how well you handle your own manicure routine.
Can Too Much Hand Cream Lead To Lifted Gel Nail Polish?
Too much hand cream can definitely lead to lifted gel nail polish. When we apply lotion or cream to our hands and nails, it often coats the surface of our nails with an oily residue.
This oil interrupts the adhesion of the gel polish, which can cause your nails to become brittle and weak over time.
It’s important to keep your hands dry when wearing a manicure – make sure you wait a few minutes after washing or showering before applying any hand creams so that they don’t come into contact with your freshly painted nails.
If you do end up getting some cream on them, make sure you use a lint free cloth to buff away any residue and let them air dry fully before beginning your manicure routine.
Nails are made up of layers of protein called keratin, so it’s essential that we keep our nails healthy for them to remain strong and durable.
Too much hand cream will result in peeling gel polish as well as potential damage to your nail beds if it is left unchecked for long periods at a time.
To avoid this from happening, be mindful about how much product you’re using when moisturizing your hands and fingers – keeping all areas clean before maintaining your manicure is always beneficial, too.
How Can I Tell if My Gel Nails Have Lifted?
If you notice you have bumpy nails or layers of your nails that weren’t there before, chances are that your gel nails have lifted, as this will affect the longevity of your gel manicure.
You should never use your nails as tools; doing so increases the amount of pressure put on them and will accelerate the natural process of lifting.
To test if they have truly lifted, try clipping one of the edges with a clipper and seeing if the hole-shaped area is still intact.
If not, then this means that there are air pockets under the nail and your gel has started to separate from it, which indicates lifting.
Depending on how bad these signs are, you can either wait for them to come off naturally or consider visiting a professional salon and getting an experienced technician take care of them for you.
How Long Does It Take to Repair Lifted Gel Nails at Home?
It can take some time to repair lifted gel nails, but it is a very achievable task at home. With the right treatments and preventive measures, you can make sure your nails are done correctly.
First, you’ll want to aim for clean nails with no existing residue or dirt on them before applying the new layer of gel polish.
If any excess product has built up on your cuticles or edges of your nail bed, remove it gently so that when the gel starts to harden, it adheres properly.
A nail dehydrator is also recommended to help treat and prevent the gel polish from lifting; it will create strong bonds between both layers of polish, so they stay in place longer.
Lastly, still keep your hands as dry as possible while creating the desired look – this will ensure that each layer of color stays intact over time.

Lifted gel nails are a common problem, but with the proper care and attention to detail, it is easy to fix them at home.
First, pay attention to your nail health; this will increase your chances of having lasting gels.
Ensure that each layer of product is evenly applied across all surfaces of the nail bed so that they don’t lift prematurely.
Always make sure that you cap the free edge of your polish before curing, and use a UV/LED lamp for optimal results.
Avoid water exposure, harsh cleaners or chemicals while wearing gels, as these can cause premature lifting and peeling.
Lastly, invest in monthly touch ups with a professional to maintain color brightness and keep nails healthy between appointments.

Hi, my name is Gemma, and I’m the owner of MakeupMuddle.com. I’m a true beauty obsessive, and love writing about anything to do with beauty – I have been a beauty writer since 2012.
